![[Updated] Devices Needed for Documenting Trips](https://thmb.techidaily.com/f5c71e67a7e48026b76caae61fa224d5139bed7177e712ed911926c5fc53a785.jpg)
[Updated] Devices Needed for Documenting Trips

Devices Needed for Documenting Trips
From the very beginning, when I started travel vlogging, I mentioned in my previous article that I used the camera on my mobile phone as my primary equipment. I utilize it every time I make videos for my content. It reminded me how handy and convenient it is to use, as proof, that I can do different shots at different angles with minimal effort. In the course of time, I figured out that I need to upgrade and look for other types of tools or equipment. It is for this reason that my fondness for travel vlogging keeps growing and I want to produce a better-quality video. Another thing is that I feel the need to expand my market on YouTube, because nowadays, more people are interested in traveling and seeing new places (hence, COVID19). Considering that, I want to take the next step to make a higher-quality video and enhance my future content.
Disclaimer: This post includes affiliate links
If you click on a link and make a purchase, I may receive a commission at no extra cost to you.
Travel Gear and Equipment: Are They Good Investments?
Is it worth it? Is it really necessary to upgrade a travel video? Will my money does not go to waste? These are the few questions that I asked myself before buying new equipment. This is my simple answer, we don’t need a high-priced camera or gears for us to do travel vlogging, I think a good story and your editing skills are enough and will get you by. But when the time comes that you are ready to climb the ladder and create an extraordinary sequence, with vivid colors, better sharpness, creamy bokeh effect, the macro shot, that panoramic shot or smooth time lapse, hyper lapse, or maybe you will use it in a low light situation or any kind of good angles. Get up from your seat now! Do your research and find the best equipment that will suit your taste. Consider buying something that will conform to your needs, is durable, convenient to use, and most importantly, cost that is within your budget. I didn’t think about earning money when I started to buy my equipment; I am more on creating memories because they will last forever and I consider that as a souvenir from that time and place.
My Equipments for Travel Vlogging
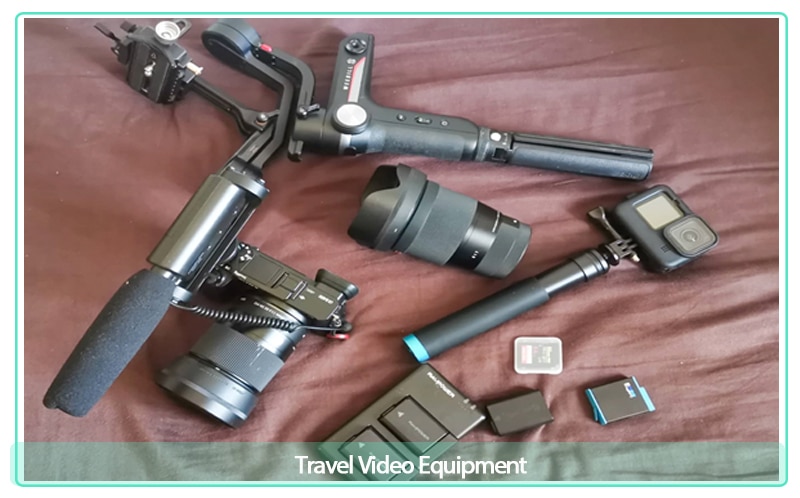
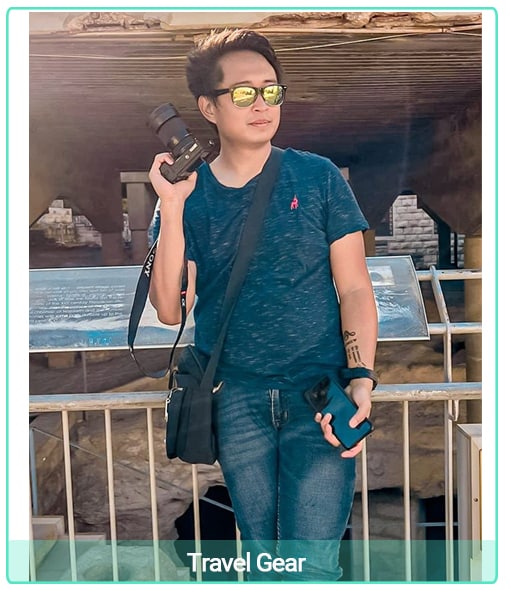
First off, I’ve got a mobile phone, mirrorless camera, action camera, gimbal, tripod, selfie stick, pack of batteries, a camera bag, laptop, and some stuff.
The next gadget that I want to get my hands on, A DRONE. I’m still saving, and surely, I will get that soon. First, let me explain why I got those types of equipment…
1. Vlogging Camera (Mirrorless Camera)
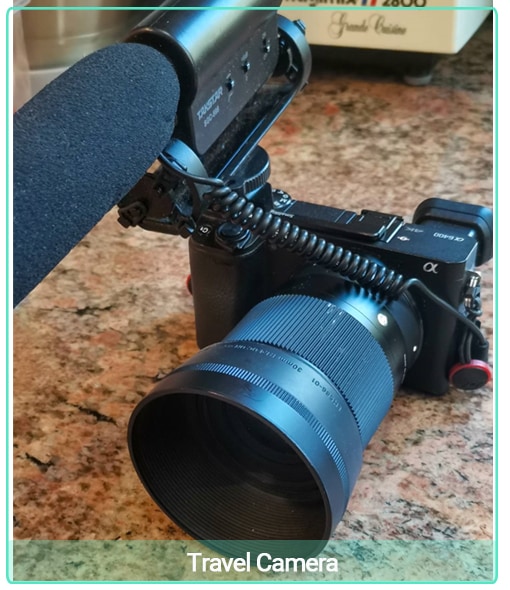
Sony a6400 is an APS-C mid-range compact camera that I use for vlogging and cinematic shots. It is specially made for beginners; it has a lot of cool features and at a reasonable price. What I love about this is the flip screen, and I found it very exceptional for vlogging. You can also use 4k resolution with this camera. For me, the only issue with this camera is the image stabilization but it’s not that significant, because of the Wondershare Filmora . This app offers the stabilization option that provides a smoothness level and it will be better than the raw or original clip footage of your video. Lastly, it is compact, handy and I highly recommend this.
2. Lenses
Lenses are the most vital part of your camera; it brings light to a fixed object. Will it make a huge impact on your cinematic shot? For your montage? For your b-roll? Yes, yes, and also yes. The use of lenses has a greater and different impact because it has a contrasting effect, especially for sharpness, depth of field, details, and background blur. It is the most important parameter depending on the situation that you might have for traveling. For example, I used Sigma 16mm, a wide lens, which is good for landscape photography or montage. Another one is Sigma 30mm, this lens is good for mid-range shot portraits and it creates a dramatic effect while capturing a person or an object.
3. Gimbal
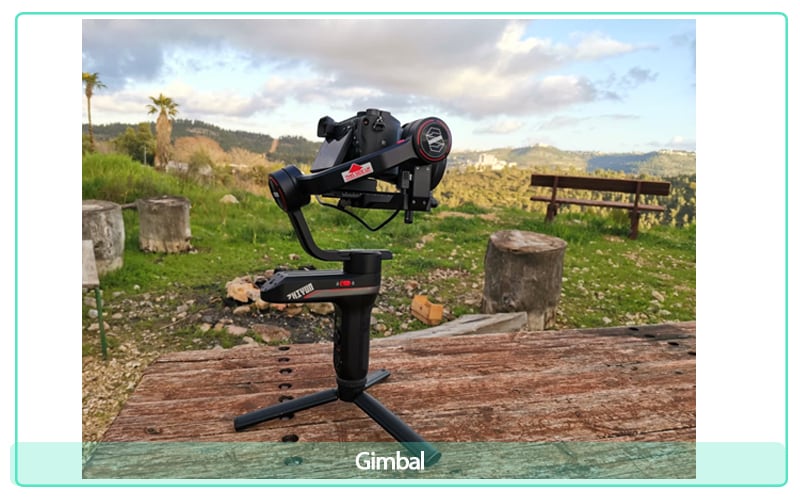
Nowadays, many filmmakers and famous vloggers are using gimbals. We often use these for better results in which it may form steady and stable shots compared to handheld cameras that produce shaky and unsteady video. The only question is do we need this? If you can still afford it and you want your videos to be smooth and stable, then I suggest getting one for yourself. This can be very useful when you’re always moving while making videos. Gimbal can provide great support if we are struggling with our camera without in-body image stabilization (IBIS). This is a good match in my camera after all.
4. Action Camera
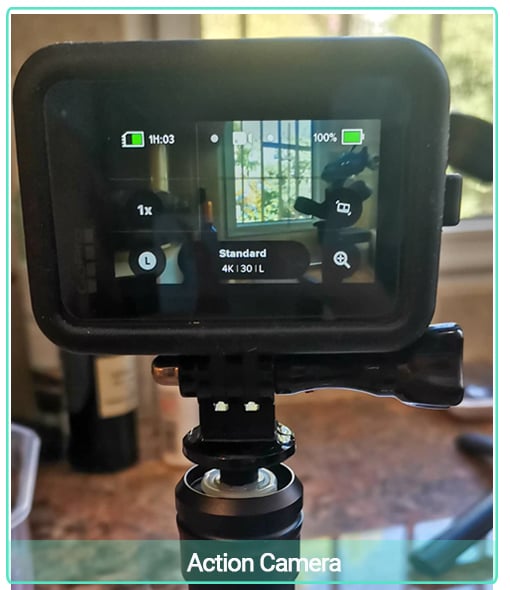
This is one of my favorite pieces of equipment and frequently used camera, the GoPro 9. A lot of content creators that I know are using action cameras for their daily vlogging. No doubt and no questions at all because this are the smallest camera that you can get on the market. Is it too pricey? Unfortunately, yes, but some brands are not. Since it is the smallest of all, the price that you pay will be worth it. It is very convenient; you can put it in your small bag and it can also fit in your pocket. Very easy to use and the resolution you get is superior. Undeniably, this is my go-to camera. You can use it in any rough situation, that is why this cute little thing has a lot to offer.
5. Batteries, External SSD, and Memory card
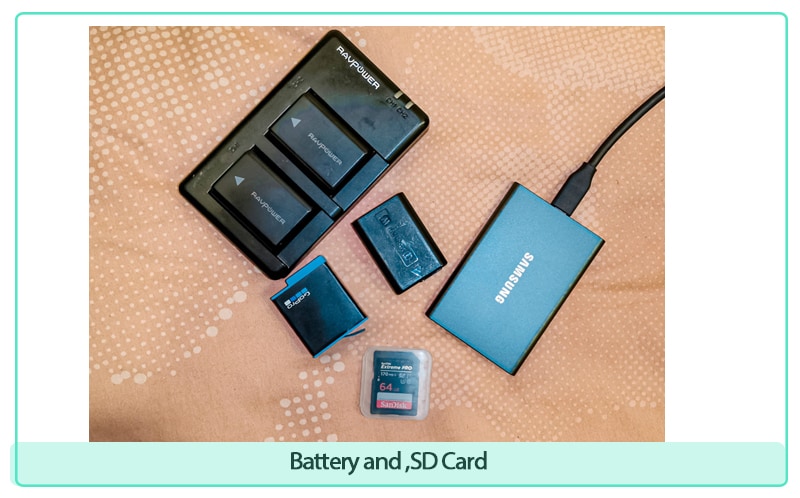
In any case, we needed a few accessories to support our equipment better. Simple things like an extra pair of batteries for your camera and action came. External SSD is a big help especially when you’re running out of memory on your computer. Memory card with a lot of storage space, I consider this an important part of my accessory kit. Make those two, and always have a spare card with you because anything can happen. So be prepared.
6. Laptop, desktop, or phone for editing
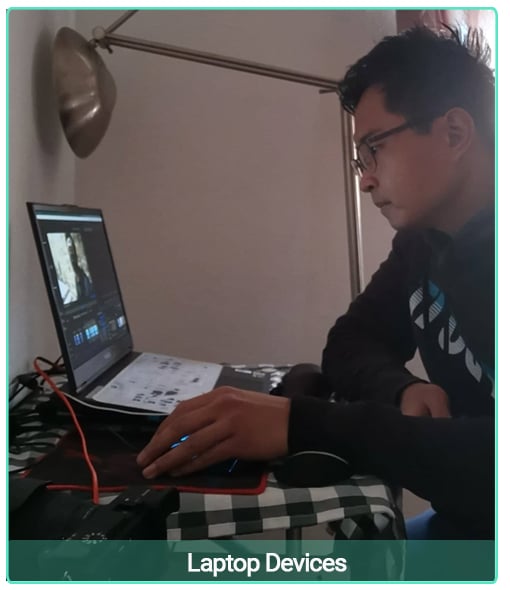
In my own experience, every time I go out and visit different places, I always have my laptop with me, so that I can easily transfer my files and start the editing process. Constantly, when I have spare time or I’m not doing anything while resting during the trip, I start editing to make progress gradually. This can save my time. I’m going to show you how I transfer my files and edit my video by STABILIZING your video that makes it better in Wondershare Filmora.
Free Download For Win 7 or later(64-bit)
Free Download For macOS 10.14 or later
How to Stabilize the Video in Filmora
Step1NEW PROJECT
click on new project

Step2IMPORT FILES
from there you can choose and select which video you would like to import

Step3DRAG AND DROP
just drag and drop simple as that

Step4STABILIZING THE VIDEO
choose the TOOLS
select video and you can choose Stabilization
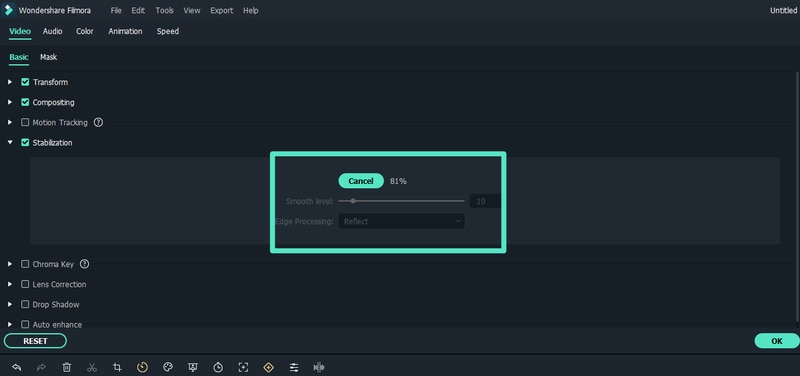
Step5ANALYZES THE SELECTED VIDEO TO STABILIZE
there you go. analyzing the video means its working 100% you will see the difference from shaky to smooth and stabilize video
So, all in all, those are the equipment and gears that I use for any travel vlogging. It has been years since I bought them one by one, you don’t need to hurry if we are on a tight budget. What matters is that you are passionate about what you are doing and you should be able to produce a great masterpiece for your travel vlog. with Wondershare Filmora you can stabilize your video smoothly. because it is essential that making smooth-looking videos will help your viewers better understand the story.
Free Download For Win 7 or later(64-bit)
Free Download For macOS 10.14 or later
Free Download For macOS 10.14 or later
How to Stabilize the Video in Filmora
Step1NEW PROJECT
click on new project

Step2IMPORT FILES
from there you can choose and select which video you would like to import

Step3DRAG AND DROP
just drag and drop simple as that

Step4STABILIZING THE VIDEO
choose the TOOLS
select video and you can choose Stabilization

Step5ANALYZES THE SELECTED VIDEO TO STABILIZE
there you go. analyzing the video means its working 100% you will see the difference from shaky to smooth and stabilize video
So, all in all, those are the equipment and gears that I use for any travel vlogging. It has been years since I bought them one by one, you don’t need to hurry if we are on a tight budget. What matters is that you are passionate about what you are doing and you should be able to produce a great masterpiece for your travel vlog. with Wondershare Filmora you can stabilize your video smoothly. because it is essential that making smooth-looking videos will help your viewers better understand the story.
Free Download For Win 7 or later(64-bit)
Free Download For macOS 10.14 or later
Also read:
- [New] Best 20 Non-Copyrighted PUBG Image Gems for 2024
- [New] Cinematic Creator Win8 Studio
- [New] Feathered Salsa Dancer for 2024
- [New] In 2024, Dynamic Editing Mastering Effects on TikTok Content
- [New] Key 5 Photo Editing Tools IPhone X/7/8 Background Swap
- [New] Showcasing Brilliance Iconic Anime Intros for 2024
- [New] The Ultimate Alternative Review to ShareX
- [Updated] 2024 Approved Ideal Pastimes Pairing with Your Favorite Audio Shows
- [Updated] Evaluating Aurora's High Dynamic Range Benefits
- Can't open MOV files on Redmi Note 13 Pro 5G
- Creative Use of Secondary Camera Work
- Explore the Leading Alternatives to Midjourney – Both Free and Paid Options, Ranked!
- Find Out Which PowerShell Version Is Installed on Your Windows 10 System
- Ideal 8 Support Systems for High Res 4K Cameras for 2024
- In 2024, 6 Vital Video Forms for Captivated Viewers
- In 2024, Digital Media Screening - An Insightful Critique
- In 2024, Prime Framing Features on Mac (Max Length 156)
- The Ultimate Guide to Accelerating Your Computer's Processing Power: Effective Maintenance Techniques
- Unlock the Power to Revive Your Windows 10 Taskbar - Expert Tips & Tricks!
- Title: [Updated] Devices Needed for Documenting Trips
- Author: Gary
- Created at : 2024-11-29 01:00:04
- Updated at : 2024-12-04 01:12:37
- Link: https://article-knowledge.techidaily.com/updated-devices-needed-for-documenting-trips/
- License: This work is licensed under CC BY-NC-SA 4.0.